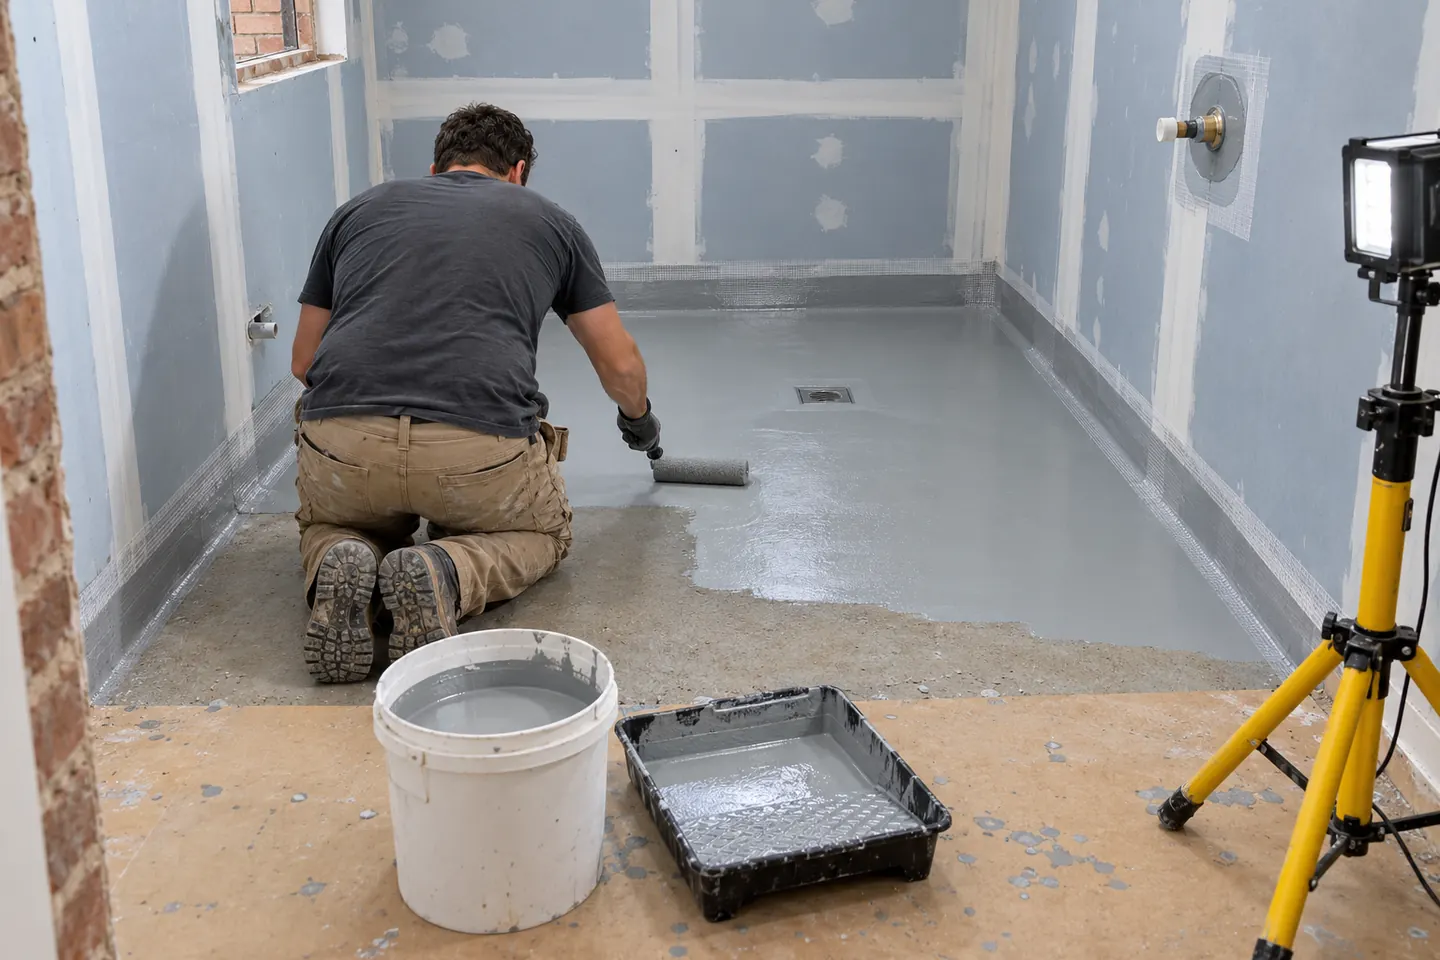
First: is regrouting actually the fix?
Regrouting is the right job when the grout itself is the problem: stained or discoloured joints that will not clean up, grout that is cracked, crumbling or missing in places, or mould that has worked into the grout rather than sitting on the surface.
It is the wrong job when the grout is a symptom. Grout is not waterproof — the membrane underneath the tiles does that. If you notice any of the following, stop and get the shower looked at before spending a weekend on new grout:
- Tiles that sound hollow when tapped, or that move
- Water marks, swelling or peeling paint on the other side of the shower wall or in the next room
- A springy or soft floor near the shower
- Grout that keeps cracking in the same place, which suggests movement behind it
Those point to a failed membrane or a structural issue, and fresh grout will only hide it for a while. Our waterproofing page explains what sits under the tiles and why it matters.
One more check in older homes: if a cracked tile or an open joint reveals a hard grey sheet behind it, don't rake or drill until you have read what asbestos looks like in a bathroom and considered a test.
Tools and materials
- Grout rake or grout saw with a carbide blade, plus a spare
- An oscillating multi-tool with a grout-removal blade (optional, and only if you have a steady hand)
- Utility knife and plastic scraper for old silicone
- Vacuum and a stiff brush
- Grout — enough for the whole shower, from one batch
- Rubber grout float, margin trowel and a clean bucket
- Two sponges (a grout sponge and a finishing sponge), plus microfibre cloths
- Flexible sanitary-grade sealant for corners and junctions, and masking tape
- Grout sealer, if you are using a cement-based grout
- Safety glasses, gloves and a P2 dust mask — raking cement-based grout creates fine dust that can contain crystalline silica
Step 1: Remove the old grout
This is the slow part, and where most DIY damage happens.
Rake out the old grout to a consistent depth — at least a few millimetres, and ideally around two-thirds of the depth of the joint. Too shallow and the new grout has nothing to hold on to; too deep and you risk loosening the tiles.
Keep the blade centred in the joint and let it do the work. Pressing sideways chips tile edges, and a chipped glaze cannot be repaired invisibly. Take particular care near glazed edges on wall tiles and around taps and the shower rose.
A multi-tool is much faster, but it can skip out of a narrow joint in an instant. Use it on the long straight runs and finish the corners and short joints by hand.
Cut out any old silicone in the corners and around the base at the same stage. Scrape away the residue completely — new sealant will not bond to old silicone.
Step 2: Clean and dry
Vacuum every joint thoroughly, then brush and vacuum again. Loose grit left in the joint weakens the new grout and can scratch the tile face when you float over it.
Clean the tile surface of soap scum and any mould so the new grout is not trapping it in. Rinse well, then let the shower dry completely — ideally overnight with the window open or the exhaust fan running. Grouting into damp, dirty joints is the most common reason new grout fails early.
Step 3: Choose your grout
Cement-based grout is the standard choice and the easiest to work with. Unsanded grout suits narrow joints, typically up to about 3 mm; sanded grout is better for wider joints because it resists shrinking and cracking. It is porous, so seal it once cured and expect to maintain it.
Epoxy grout is far more resistant to staining, mould and water absorption and does not need sealing. The trade-offs: it costs more, has a short working time, and any residue left on the tile face hardens quickly and is difficult to remove. For a first-time DIYer, a good-quality cement-based grout with a sealer is the more forgiving option.
Whatever you choose, buy enough for the whole shower from one batch. Grout colour varies between batches and once cured, and new grout rarely matches old grout exactly — which is another reason to do the whole shower rather than patching.
Step 4: Mix
Follow the manufacturer's ratio exactly. Add powder to water rather than water to powder, and mix to a smooth, stiff paste — roughly the consistency of thick peanut butter. Many products ask you to let the mix stand for a few minutes and then remix; this is called slaking.
Mix small batches you can use within the working time. Never add extra water to a batch that has started to stiffen; it weakens the grout and causes patchy colour.
Step 5: Apply
Work in sections of about one square metre. Load the float, hold it at about 45 degrees and push the grout diagonally across the joints, pressing firmly so the joints are packed full with no voids.
Then turn the float almost upright and drag it diagonally across the tiles to scrape off the excess. Working diagonally stops the edge of the float from dragging grout back out of the joints.
Leave the corners and the joint where the walls meet the floor or shower base empty. Those get sealant, not grout.
Step 6: Sponge and clean the haze
Once the grout has firmed up — check with a fingertip; it should be firm but not hard, usually within 10 to 30 minutes depending on the product and the weather — wipe the tiles with a damp, well-wrung sponge in a light diagonal motion. Rinse the sponge often. Too much water pulls grout from the joints and lightens the colour.
Shape the joints as you go so they are slightly concave and consistent.
After the grout has dried a little further, a thin powdery haze will appear on the tile face. Buff it off with a dry microfibre cloth. If a stubborn haze remains after curing, use a haze remover suited to your tile and grout, following its instructions.
Step 7: Cure
Keep water off the shower for the full cure time the grout manufacturer specifies — commonly at least 24 to 72 hours for cement-based grout. Keep the room ventilated but avoid blasting it with heat, which can make grout cure unevenly.
Step 8: Silicone the change-of-plane joints
Internal corners, the floor-to-wall junction, the edge of the shower base and around tap penetrations are movement joints. Rigid grout cracks there, often within weeks. Use a flexible, mould-resistant, sanitary-grade sealant instead.
Make sure the joint is clean and dry, run masking tape either side, apply a steady continuous bead, tool it smooth with a wet finger or a profiling tool, and pull the tape straight away. Leave it to cure for the time on the tube before the shower is used.
Step 9: Seal cement-based grout
Once the grout has fully cured — check the sealer's instructions, but it is often several days — apply a penetrating grout sealer to the joints with a small brush or applicator, wiping any excess off the tile face. Sealer reduces staining and water absorption; it does not make the shower waterproof. Reapply it periodically as it wears.
When to call in a professional
Regrouting refreshes a shower that is basically sound. If the tiles are drummy, the membrane has failed or you would rather replace the tiles altogether, that is a tiling and waterproofing job rather than a grout job. If a full rebuild is on the cards, our renovation cost guide sets out the rough bands and what moves them.
If you're in the Bankstown area and not sure whether your shower needs grout or something more, call 02 4404 0504 or send the details through.
Keep going
Where people head next
Questions people ask before they commit
Can you regrout over old grout?
Not properly. A thin skim of new grout over old joints has almost nothing to bond to and tends to crack and flake within months. Rake the old grout out to a consistent depth first — ideally around two-thirds of the joint depth — so the new grout has room to key in.
How long after regrouting can I use the shower?
It depends on the product, so follow the manufacturer's cure time. Cement-based grouts commonly need at least a day or two before the shower is used and longer before sealing. Epoxy grouts often cure faster but check the product. Using the shower too early can wash out or discolour fresh grout.
Should I use grout or silicone in the shower corners?
Silicone. Internal corners, the joint between wall and floor, and around the shower base or tray are change-of-plane joints that move slightly. Rigid grout cracks there. Use a flexible, mould-resistant sanitary-grade sealant instead.
Is epoxy grout better than cement grout for a shower?
Epoxy resists staining and water absorption far better and does not need sealing, but it costs more, sets quickly and is harder for a DIYer to apply neatly. Cement-based grout is easier to work with and perfectly good in a shower if it is sealed and maintained.
Will new grout stop water getting behind the tiles?
Usually not on its own. Grout is not the waterproofing layer — the membrane underneath is. If you have water damage outside the shower, loose or hollow-sounding tiles or swelling nearby, the membrane may have failed and needs a professional assessment rather than new grout.